

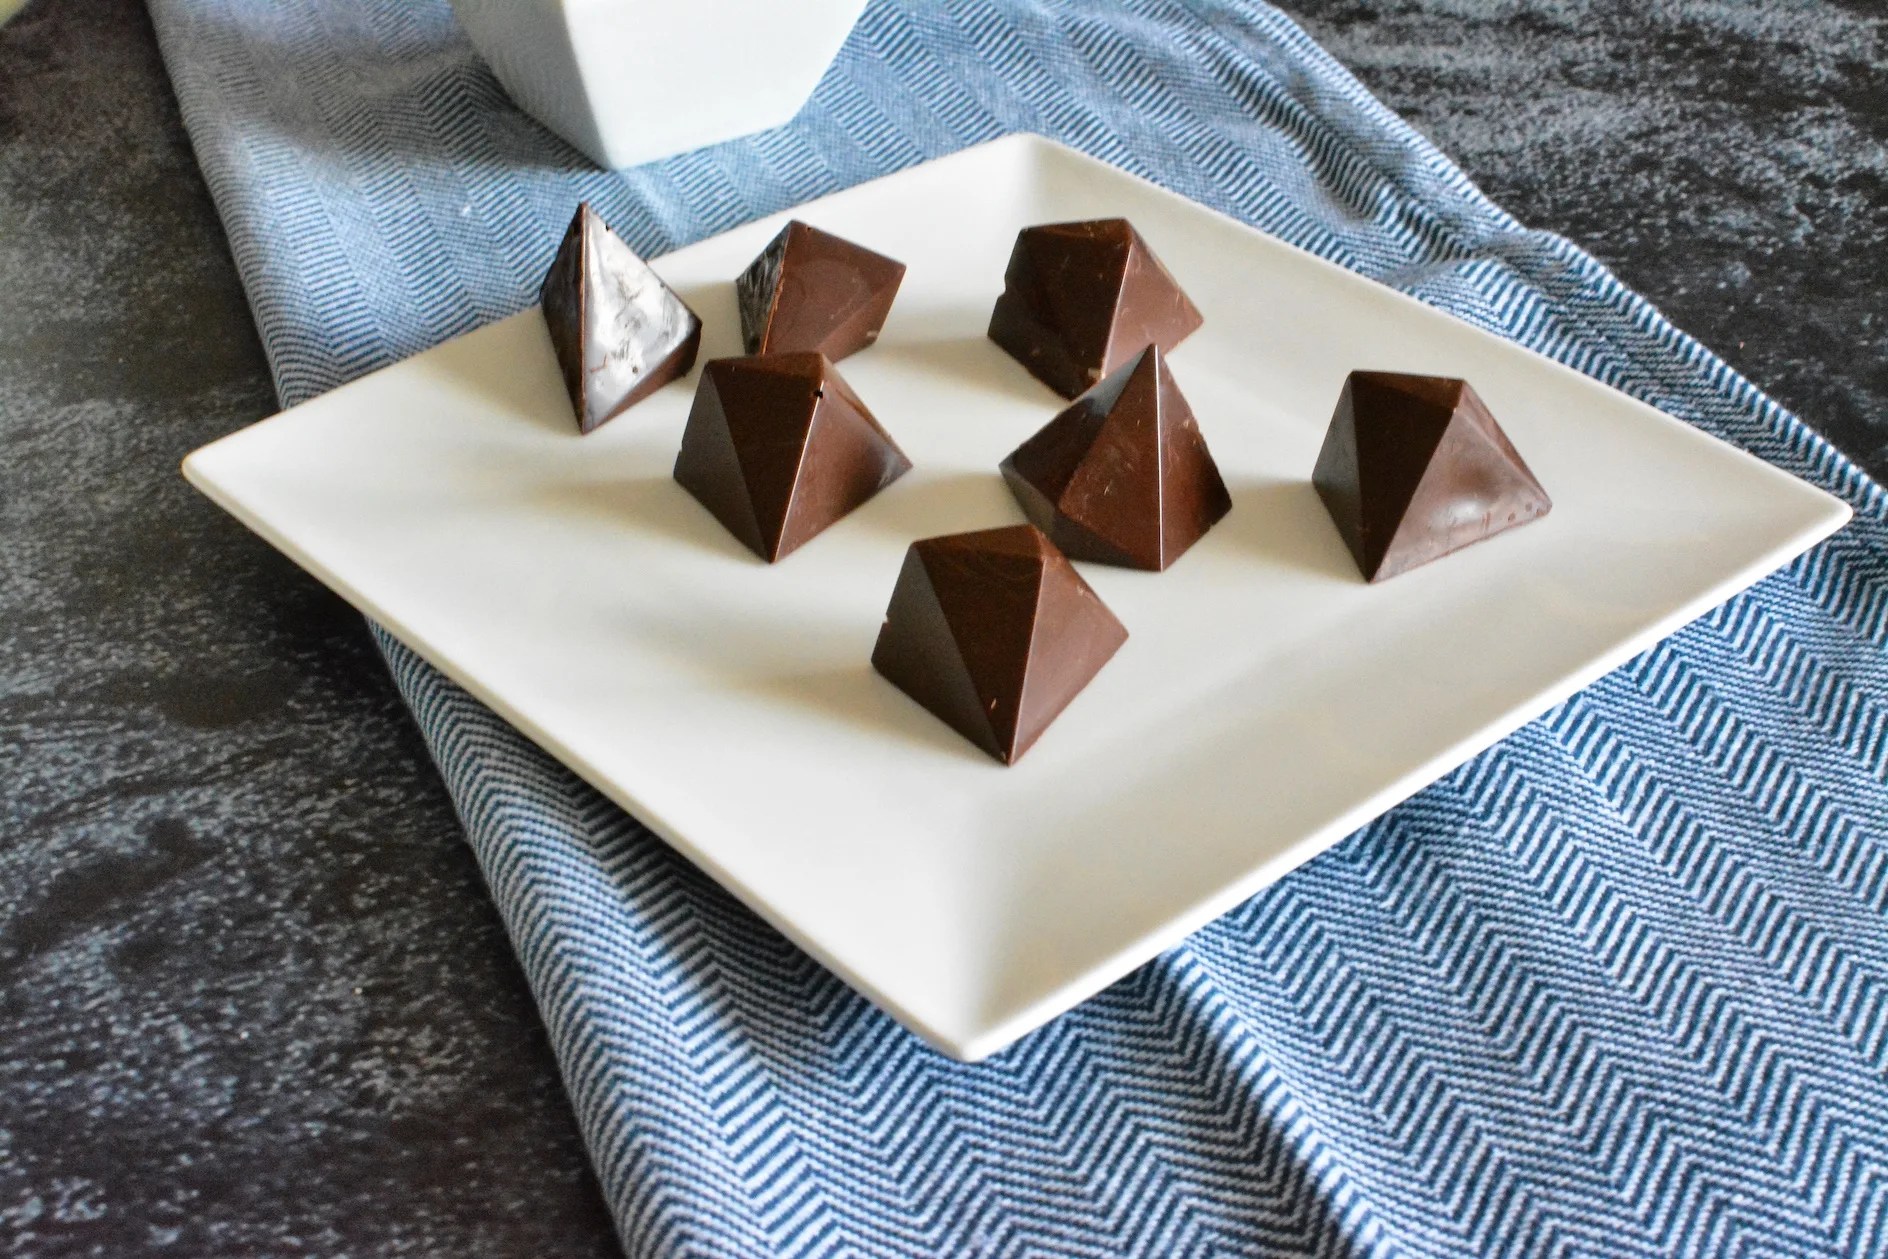
Handling chocolate is an art, but with a little practice, basic things like tempering chocolate can be easily done, and you can achieve some nice results. Below, you can see my first batch of chocolates — far from perfect. I’ve improved my technique over time, but I figured it would be nice to show that even without experience, you can get some nice-looking chocolates.
Tempering chocolate is when you melt the chocolate, but by using the proper technique, you help the cocoa butter crystals reform in a stable structure. The difference from just melting chocolate is that once it sets, melted (untempered) chocolate will melt back in your hand super fast, and it also won’t have that nice sheen — the glossy finish you want.
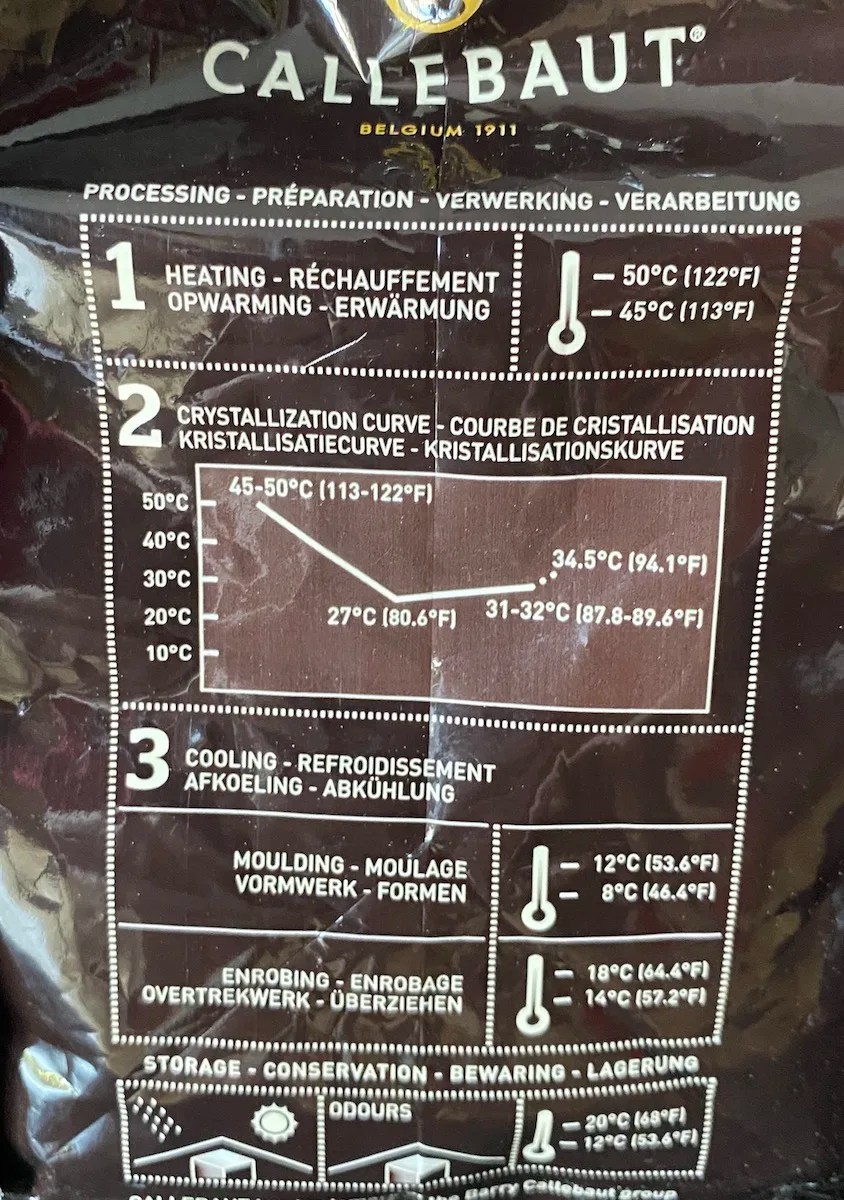
Note that white, milk, and dark chocolate temper at different temperatures. Also, each brand may have a different value. If you buy any professional chocolate brand like Callebaut, Barry, or Valrhona, they’ll usually show a temperature graph for their product (example below).
Before you proceed, make sure you have a candy thermometer. While searching for one on Amazon, I stumbled on a combo spatula/thermometer. To my surprise, it actually works but its not super precise and its a pain to clean. If you want more precision and have the budget, I highly recommend buying a Thermapen or Chefalarm — much, much more precise, and it can be used for other purposes too. The chefalarm you can clip so it becomes handless and you can program to alert you at certain temperature.
Extra info: when tempering chocolate, it goes through six stages. Below is a very condensed summary for chocolate.
| Temperature | Phase | |
| Step 1 | room temperature to 120°F | all cocoa butter crystals melt. |
| Step 2 | 120°F to 95°F | chocolate is cooling, no crystallization yet. |
| Step 3 | 95°F to 85°F | crystals form but aren’t stable. |
| Step 4 | 85°F to 81°F | mostly stabilized, but some unstable crystals remain. |
| Step 5 | 81°F to 90°F | reheating to melt any remaining unstable crystals. |
| Step 6 | 90°F | 90°F — this is where you use the chocolate. |
If you use the chocolate without following all the phases, you’ll end up with issues: bloom (either sugar or fat), no gloss or snap, and so on.

(Experiment 184) Tempering chocolate
Ingredients
- 200 g or more chocolate it needs to contain cocoa butter.
Instructions
- Set up a bain-marie (double boiler) over simmering water, and put in two-thirds of the chocolate. Temperature is critical — let it reach 115°F. Stir, stir, stir, and keep watching the temperature. This is a slow process, and if you overheat the chocolate, you're done.
- Once at 115°F, remove from heat and add the remaining chocolate little by little while stirring, making sure it's melted before adding more. Adding unmelted chocolate drops the melted chocolate's temperature. Keep doing this until you reach 95°F.

- Let it cool to 80–81°F, stirring occasionally.
- Now it’s time to test the chocolate. Put a little bit on a piece of parchment paper and wait 2–3 minutes. If it comes off the paper cleanly and “snaps” when you break it, you have tempered chocolate, my friend. If not, reheat to 95°F and restart the process of adding chocolate to cool it down.
- If you succeeded, put the chocolate back on the bain-marie and heat it back to 88–90°F. Take it out and use it right away
