

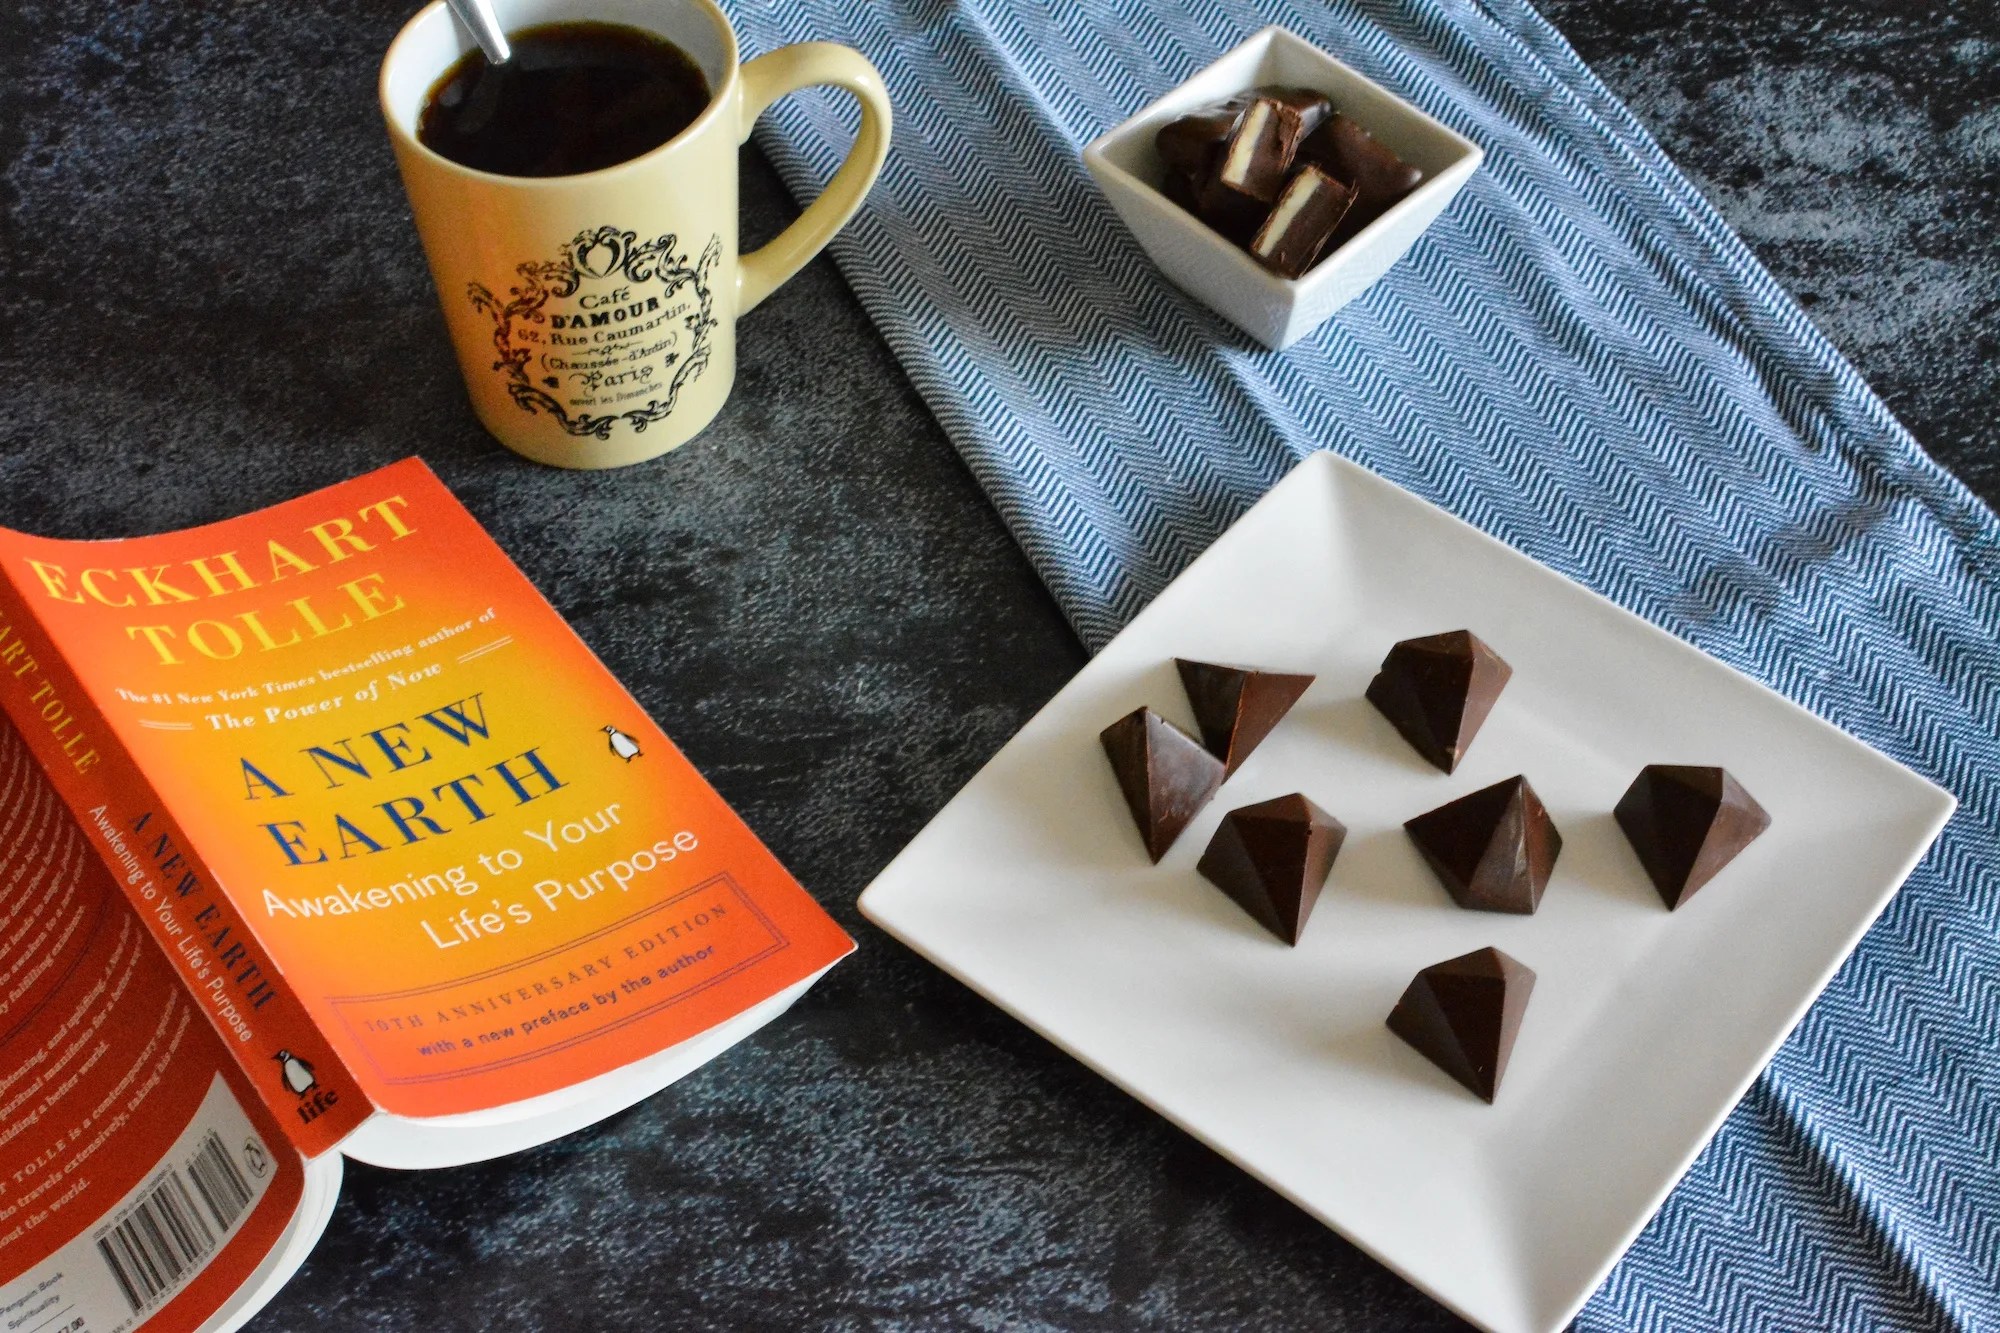
These chocolates are ridiculously good! The two ganaches (coffee and hazelnut), punched up with the dark chocolate coating, just knock it out of the park!
That being said, this recipe isn’t hard, but let me give you a fair warning: it’s time-consuming. In a large-scale environment where you’re making 5–10x this amount, it’s likely worth it. For such a small batch, as good as the chocolate is, it’s a lot of work.
Here, I decided to make them in a fancy mold, and it obviously had extra steps, but I also did a small batch of chocolate-covered ganache, which was easier to do.
Before you start, decide if you’ll mold or just cover the ganaches. If you just cover the ganache, prepare the first ganache, lay it flat on plastic film, then put another plastic film on top. This will start the crystallization process. Prepare the second ganache, remove the top plastic film, and lay the second ganache on top of it. Cover it back with plastic film. Let it crystallize at room temperature for 8 hours. The next day, simply cut it into pieces and cover them in tempered chocolate.
Below, I’ll explain how to do it in a mold over two days. Simply adjust the final steps to fit your needs.

(Experiment 175) Hazelnut coffee chocolate
Ingredients
Praline paste
- 85 g hazelnut
- 50 g sugar
- 5 g water
Coffee ganache
- 45 g heavy cream 35%
- 3-4 coffee beans coarsely broken into pieces
- 15 g milk
- 15 g corn syrup
- 10 g butter room temperature
- 100 g tempered chocolate
- 10 g coffee liqueur ex Tia maria
Hazelnut ganache
- 38 g heavy cream 35%
- 13 g corn syrup
- 105 g tempered white chocolate
- 15 g praline paste
- 5 g coconut oil
- 8 g hazelnut liqueur ex frangelico
Chocolate coating
- ~300g dark chocolate
Instructions
Day 1
- For the praline see how to here (use method 2). Reserve at room temperature well sealed.
- Let’s start making the coffee ganache, in a pot mix the cream with the coffee beans. Bring it to a simmer ( don’t boil it ), remove from heat, cover, and let it infuse for 5 minutes. Strain the mix in a chinois or cheesecloth, I used an old silver coffee filter works really well. Weight the mixture and add milk until you are back to 45g.
- At this point, you should start tempering the chocolate in parallel. See how-to here.
- Back to our coffee cream mixture, add the corn syrup, stir and bring it to a simmer over medium heat. Once there, remove from heat and add the liqueur, stir and let cool.

- When the chocolate is tempered, stir in the butter. Make sure there is no chunk left then pour in the cream mix. Stir stir stir until it’s all well combined. Do this for about 2 minutes else it will split.
- Lay some plastic film, pour the ganache on it and cover it with another plastic film. Let it crystalize overnight.
- It’s now time to do the hazelnut ganache. This will be almost the same process. In a pot pour in the cream and corn syrup, stir, and bring to a simmer. Remove from heat, add the hazelnut liqueur, and reserve.
- It’s now time to temper the white chocolate. See how-to here.
- Mix the praline paste with the coconut oil and combine it with the tempered white chocolate. Also, add the cream mix and stir until well combined, at least 2 minutes. Pour it on plastic film and cover it with another plastic film. Let it also crystalize overnight.


Day 2
- You now have your 2 slabs of ganache ready, they will be hard but don’t worry we will remelt them a little to pipe them into our mold.
- Temper 300g of chocolate and follow the molding process here.
- While they dry, heat up over medium-low heat the coffee ganache. Do NOT heat over 90F. Pipe the ganache to fill about half the hole in the mold, don’t overfill you still have a second ganache to add + bottom cover.
- Repeat the process with the second ganache making sure you leave room to put the last layer of chocolate on.
- Temper about 100g of chocolate, pour it on top of your mold and using a cake/chocolate spatula scrape the top of the mold so everything is flush. You want to make sure there is not extra chocolate on top as it will make it hard to unmold.
- Keep following the instruction from the molding page. If you are lucky they will come out easily 🙂