

This is the simplest way I could lay out this process. Per mold, calculate 200g of chocolate.
Molds
The most common ones you’ll find on sites like Amazon are either silicone or polycarbonate. The latter is what chocolatiers use, for good reason: they simply work better with chocolate. Be careful with “Chinese” imitation molds — they’re PVC, not polycarbonate. They do work (the photo below is a PVC mold I got for very cheap), but they don’t give that nice, shiny sheen polycarbonate does. They’re also very thin, so I’d expect them to break more easily.
They do cost a little more, but I’d highly recommend that if you invest in one mold, go polycarbonate.
Design
There are multiple ways you can decorate your chocolates, but two of the most popular ones these days are transfer sheets and dusting.
A transfer sheet can be purchased from a specialty chocolate store, and they come in multiple designs. You apply them to your chocolate while it’s not yet set. Once it sets, you simply peel it away — kind of like those kids’ temporary tattoos.
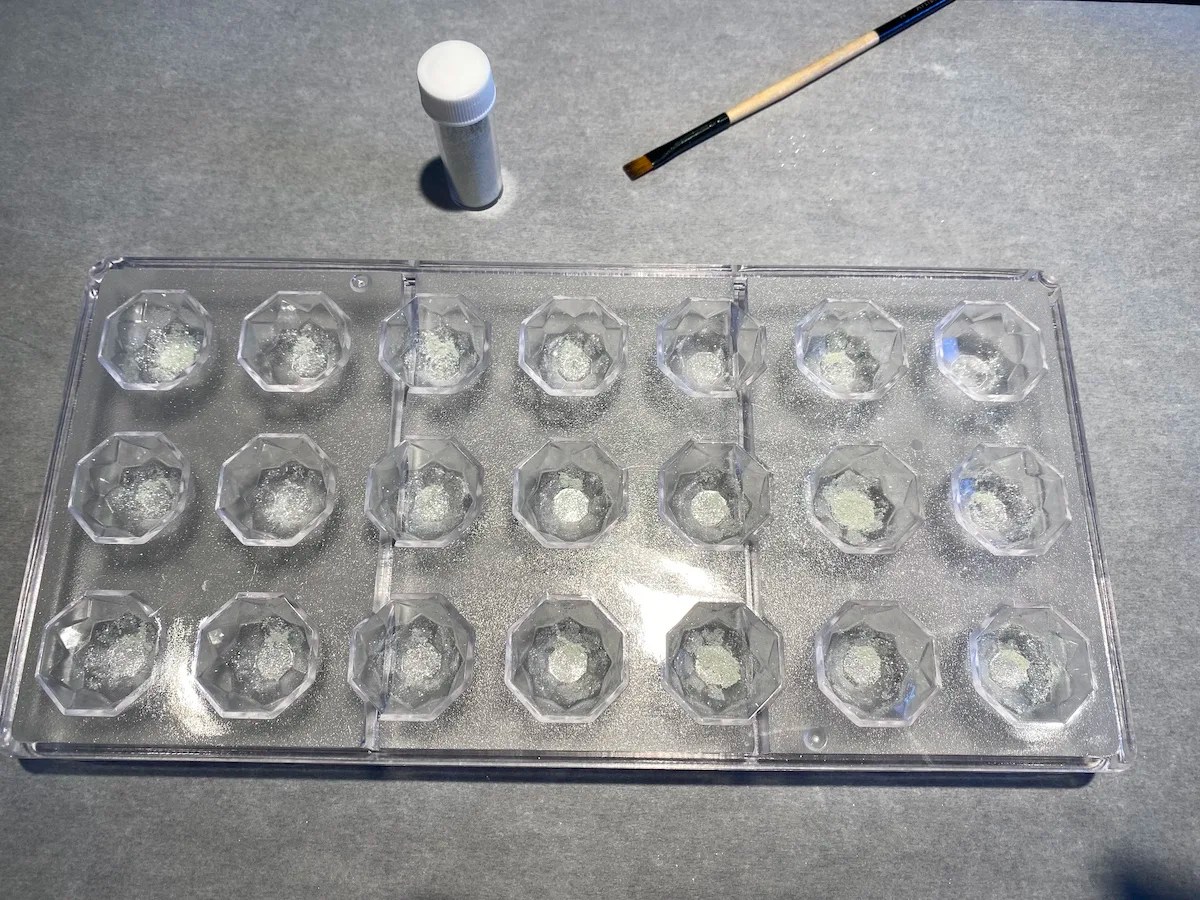
You can also use dusting powder to create some nice effects. Here, I simply used a brush to cover the bottom of the cavity in my mold.
Dusting powder can be purchased in various colors. For folks in Canada, Bulk Barn carries them.
Tips
Before pouring chocolate, I recommend buffing each cavity with a clean dishcloth. This helps with the release of the chocolate at the end.
If your mold is cold, you should heat it up to around 85°F. This way, when you pour the chocolate, it doesn’t harden too fast and form a thick shell. To heat it up, I use a “bean bag” that’s made as a hot pack — just microwave it for about 30 seconds and put it underneath the mold for about a minute. Again, you don’t want to overheat it, just make sure it’s not cold.

(Experiment 196) How to mold tempered chocolate
Ingredients
- 200 g+ couverture chocolate
Instructions
- Once you have your tempered chocolate, using a ladle fill each one of the cavities. Make sure to scrape the extra chocolate off the top. Bang it gently so that air bubble exits. Let it set for about 2 minutes. The more you let it set the thicker your shell will be.

- Now flip the mold 180 degrees(upside down) making all the extra chocolate in each cavity drop. I recommend doing this over parchment paper where you can scrape it all off easily and put it back to use.
- Ideally, you want to let it dry upside down but without the mold touching anything. I used 2 knives to raise the mold and let him dry, not really important what you use just raise it so it doesn’t touch.
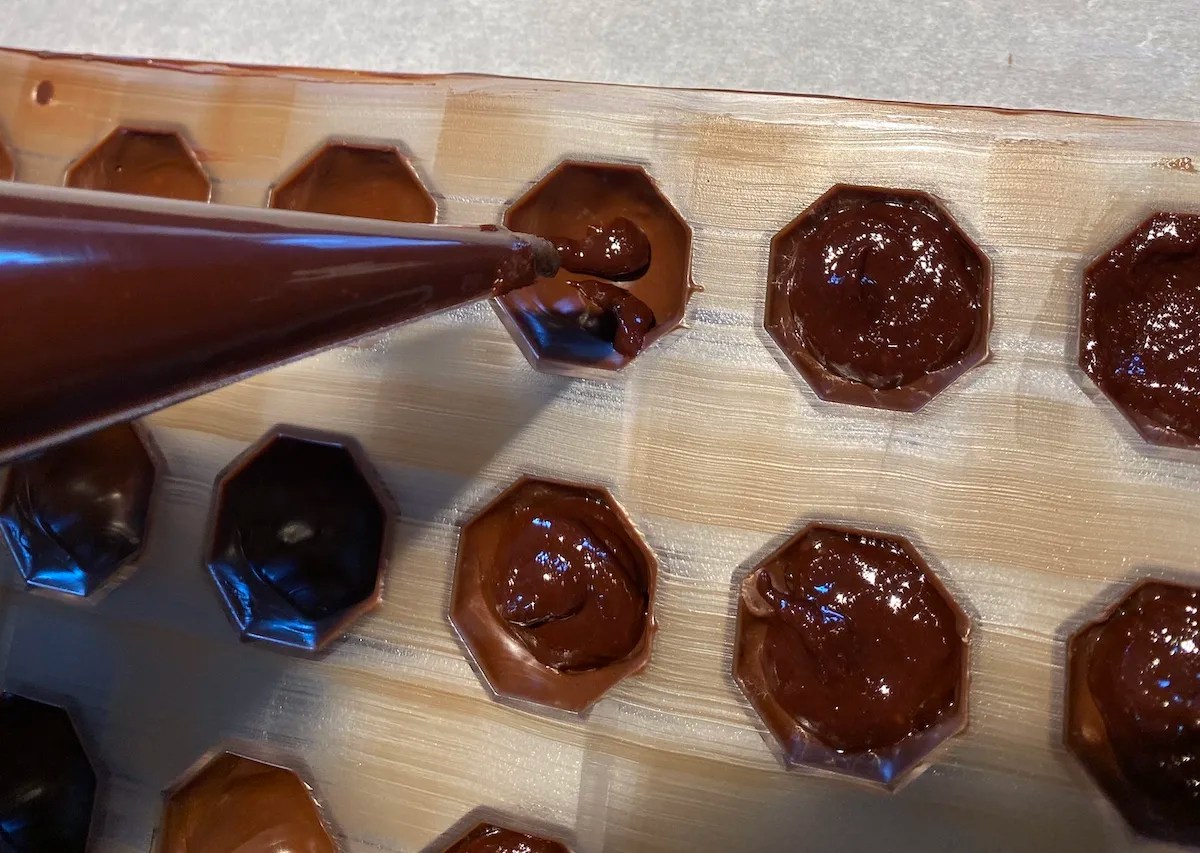
- Once it’s dry, fill the chocolate shell with some filling, here I’m piping pear ganache in, do not overfill. Make sure that it is not hot else it will melt the shell. 20-25C would be ideal

- If your filling is very soft, you may need to let it cool and set before you continue.
- Finally, use the ladle to recover each shell then scrape it off cleanly.
- Let it rest at room temperature for 15 minutes. Afterward, place the mold in the fridge for another 15 minutes. At this point, if you take it out of the fridge and look carefully, you should see the chocolate has contracted a little and is ready to be unmolded.
- Just flip it upside down carefully and often they will just fall off. If they are still stuck, pound the mold on the countertop and it should do the trick. Sometimes you need to do it a few times but it shouldn’t be a big issue.

