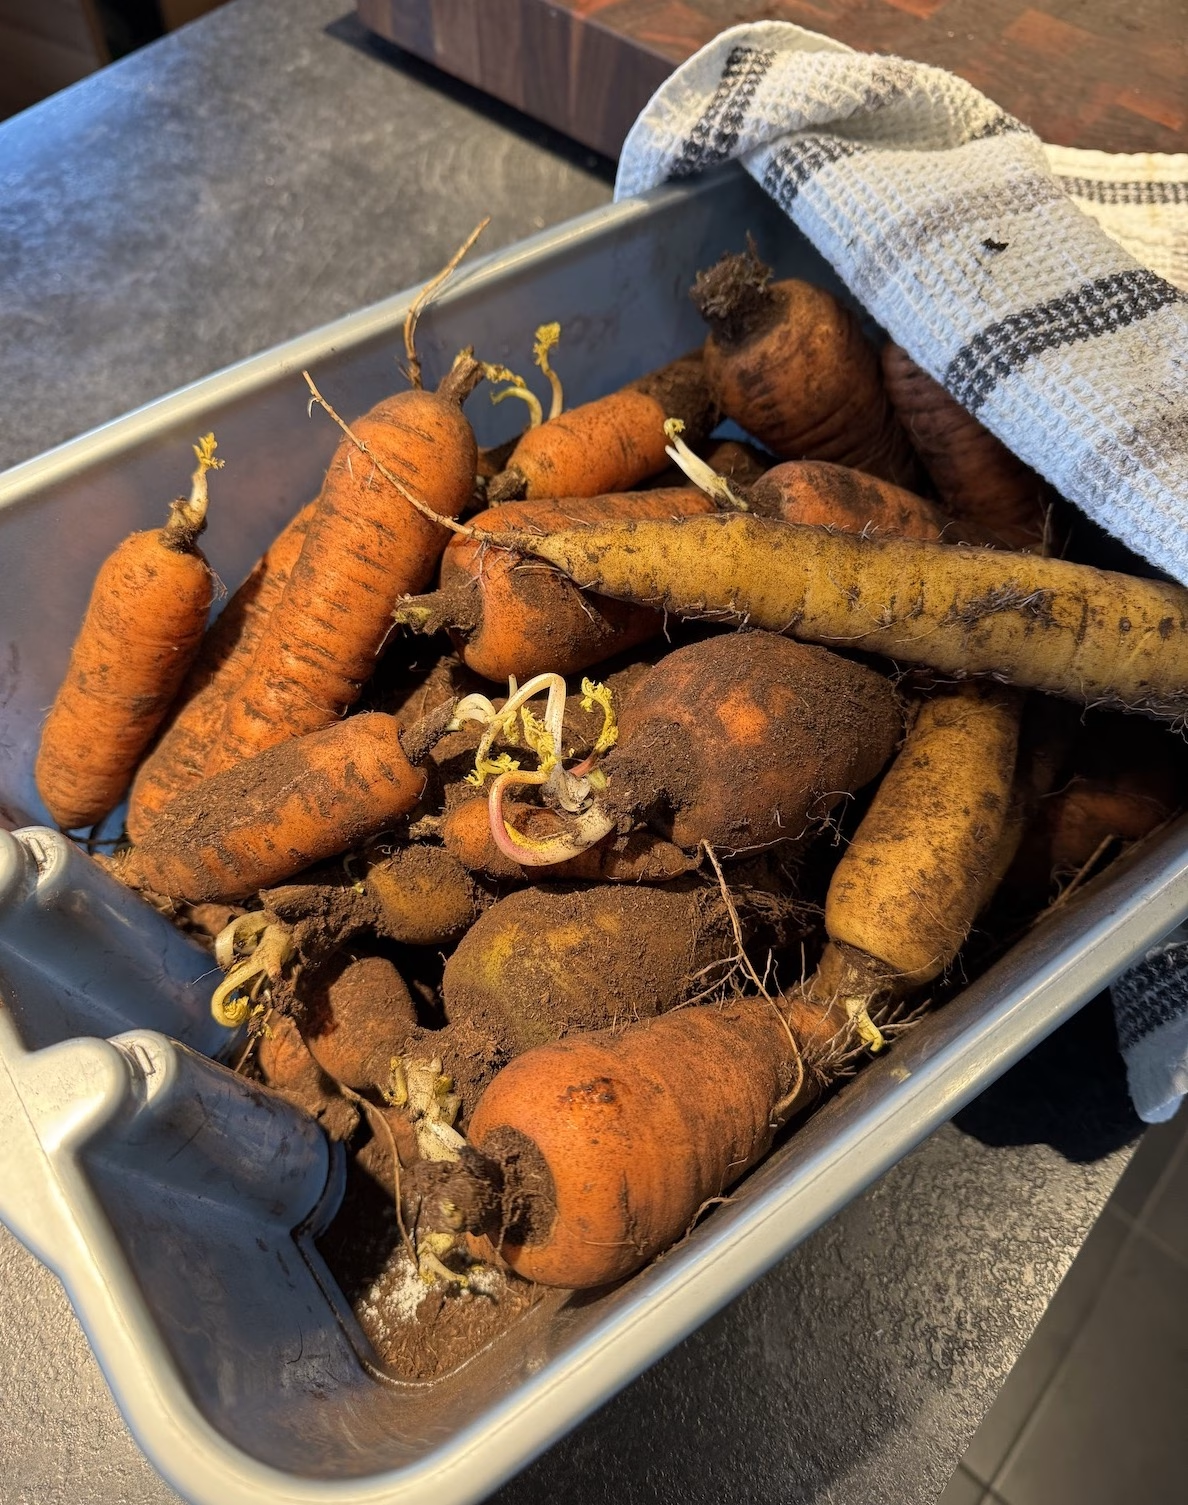
Any given year, I grow somewhere between 500 and 1,000 carrots. Sorry, I’m not going to count them exactly. That’s all well and good, except with the kind of summers Quebec has been having lately, the carrots reach maturity really late in the season. This year, I only started seeing big carrots at the beginning of September, and as I’m writing this in late September, plenty of them are still small. So the real problem isn’t growing carrots, it’s ending up with an overwhelming amount of them all at once.
I already posted a nice cream of carrots recipe that’s an easy way to use a bunch of them right away, but I also want to keep as many carrots fresh as possible for as long as possible. The longer they sit in storage, the sweeter they actually get, which is the opposite of what happens to the ones from the supermarket.
One option is to just leave them in the soil. Once winter sets in, they’ll freeze right there in the ground. They stay fresh for about a month like that, but once the real cold hits, the inside of the carrot freezes solid, and whatever water is left inside expands and causes tiny internal fractures, basically a microburst from the inside out.
On top of that, digging them out of frozen ground is brutal. I had to use a shovel to cut out chunks of soil with the carrots still inside, then bring them into the garage to thaw a little before I could separate them. You end up breaking a good number in the process no matter how careful you are.
So what do you do instead? Great question.
I got curious about how people used to preserve potatoes, carrots, and other root vegetables through the winter before modern refrigeration existed. The answer was pretty consistent: a root cellar.
That’s great in theory, but about 99.9 percent of homes built in the last hundred years don’t come with one. You can build one, sure, but that’s a serious project with a real budget attached to it.
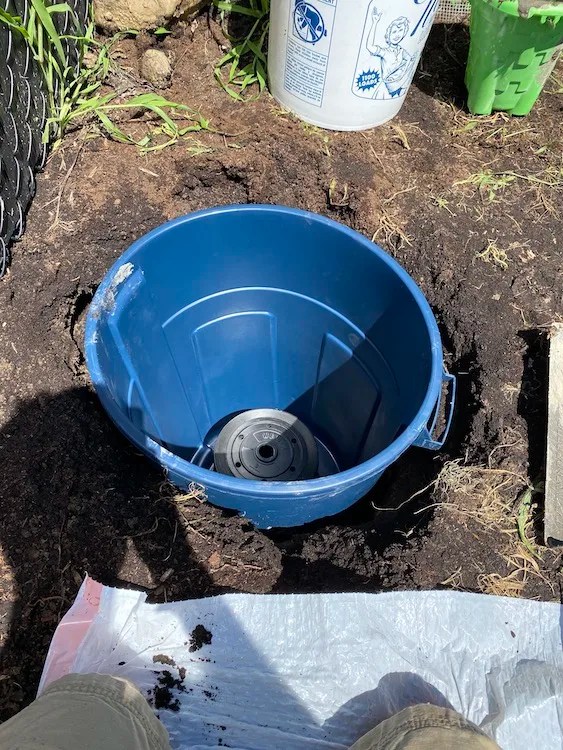
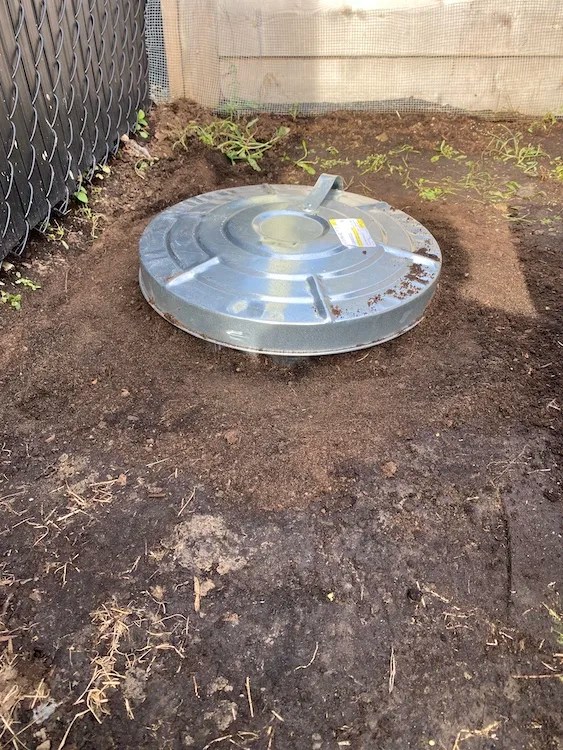
So the direction I went with instead was to bury a garbage can in the ground. I can already hear you laughing from here.
For my first attempt, I used an aluminum can, thinking it would give better thermal transfer between the carrots and the surrounding ground. Step one was digging a hole a little over three feet deep. In Quebec, once you get past 5 to 8 inches of topsoil, it’s all clay underneath. Beautiful, dense, and incredibly heavy clay. Several hours later, the hole was finally done.
In hindsight, the aluminum can was a mistake. When autumn rains soaked the soil, the ground literally pushed the can up and out. Fail number one. On top of that, all that water pressure forced its way into the can despite several layers of polyethylene sheeting I’d taped around it. Fail number two.
Then it was time to actually store the carrots. I layered two inches of peat moss at the bottom, followed by a layer of carrots, then an inch of peat moss, then another layer of carrots, repeating that pattern until the can was full.
How to proceed with your carrots : cut the leafy tops off but leave about half an inch of stem, and don’t trim or wash the actual carrot itself. Any carrot with visible damage shouldn’t go into storage, since it’ll spoil and affect the ones around it.
Using this method, I managed to eat fresh carrots all the way until March. This season, I made a few adjustments. I switched to a plastic bin instead of metal . Been using this year after year without any issue. I now add a black plastic bag inside the garbage just as an additional measure .