Growing garlic is actually pretty easy, though it does take some planning since garlic goes in the ground at the end of September or early October. I like to have mine planted about three weeks before the first frost hits.
First things first: where do you get your “seeds”? To grow garlic, you can start with either bulbils, which take two to three years to actually form a proper bulb, so it’s a slow route, or individual cloves, which is by far the more common and practical approach. You can technically use supermarket garlic, but I wouldn’t recommend it for a number of reasons. Your best bet is ordering from an online garlic grower, who usually carries several varieties to choose from, or picking some up fresh at a farmers market. Each clove you plant will eventually produce a bulb with anywhere from 2 to 12 cloves, depending on the variety, temperature, and how consistently you water it.
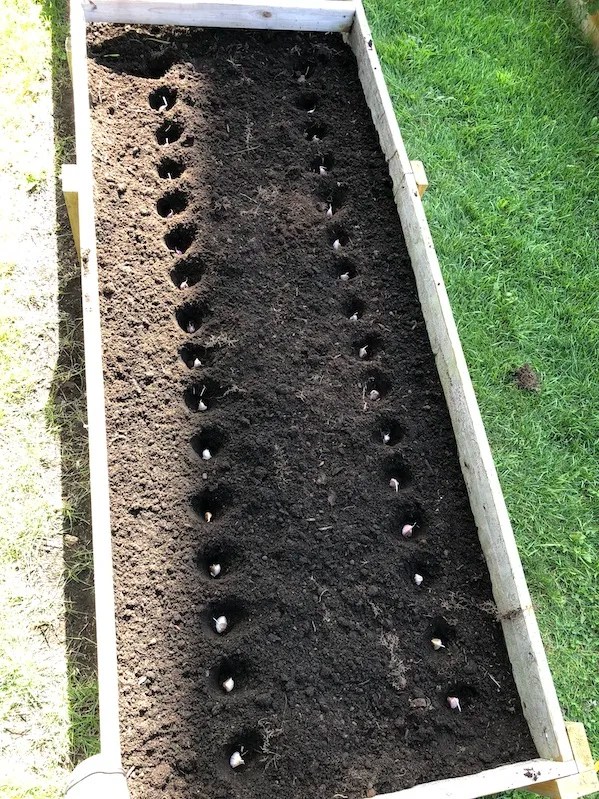
If you already have a garden bed ready, plant your cloves following this spacing: 2 to 3 inches deep, with 5 to 6 inches between each clove. If you’re planting multiple rows, leave about 20 inches between rows.
I like to amend the soil with two bags of shrimp compost about a week before planting. To plant, use your thumb to press a small hole into the soil, drop the clove in, and cover it back up. Water lightly every couple of days until the first freeze sets in. Don’t worry if you start seeing little sprouts poke through before winter, that’s completely normal.
Tip: don’t peel the clove before planting. Use your biggest cloves, and plant them with the pointed tip facing up toward the sky.
I’ve been told you can also grow garlic in pots, though I’ve never tried it myself. There’s no obvious reason it wouldn’t work, as long as the pot is at least 10 to 12 inches deep to give the roots enough room to develop.
After winter passes, sometime around April or May, you’ll start seeing the garlic stems push up through the soil. Be careful not to overwater at this stage. Once a week is plenty, but make it a deep watering rather than a light sprinkle. Starting in May, I recommend spraying BTK on the garlic every other week to keep leek moths from destroying the leaves. These worms feed from the inside of the leaf, so by the time you notice visible damage, it’s already done. Garlic doesn’t need heavy fertilizing. I use this product on all my vegetables, two to three times over the season.

Around late June, you’ll notice garlic scapes forming. It’s best to snip them off once they’ve looped around twice. This redirects the plant’s energy into growing a bigger bulb instead of putting effort into flowering.
About four to five weeks after cutting the scapes, the leaves should start drying up. Once only about five green leaves remain on the plant, it’s generally ready to harvest. This part takes a bit of judgment, since you want the bulb as large as possible, but waiting too long risks rot setting in. Stop watering entirely about a week before you plan to pull the garlic.
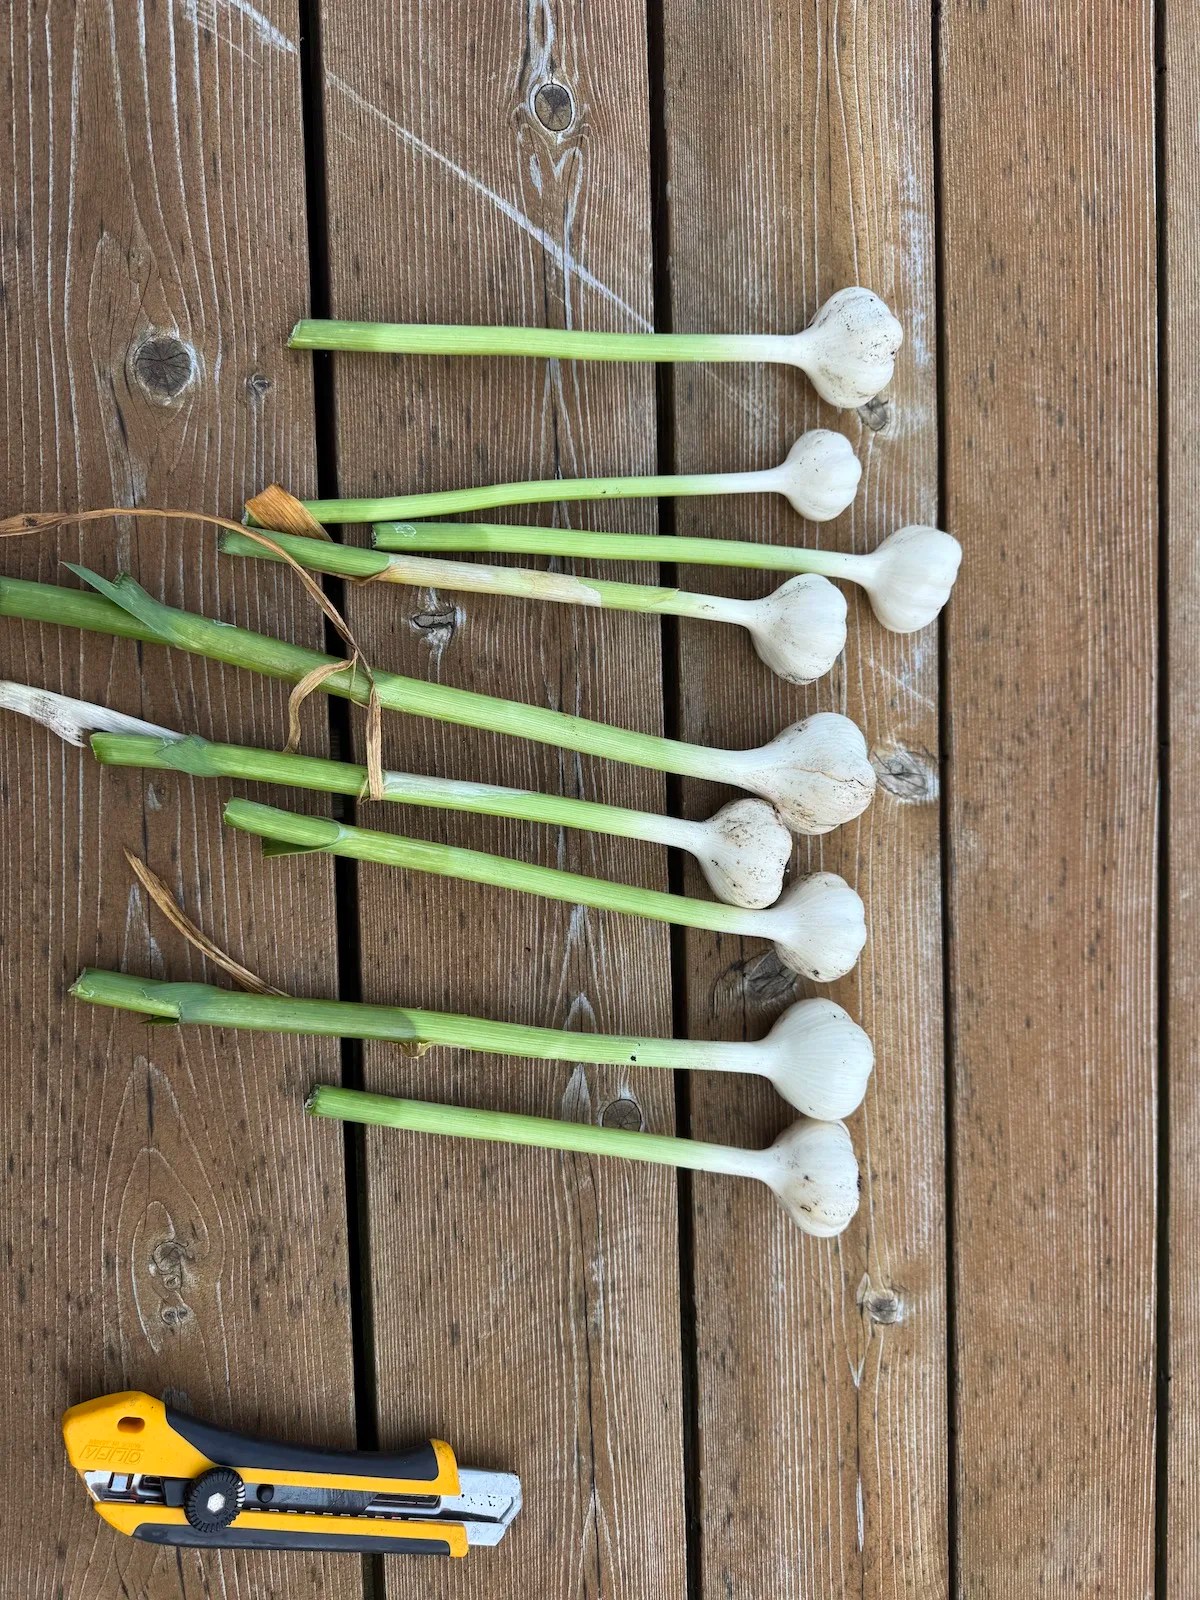
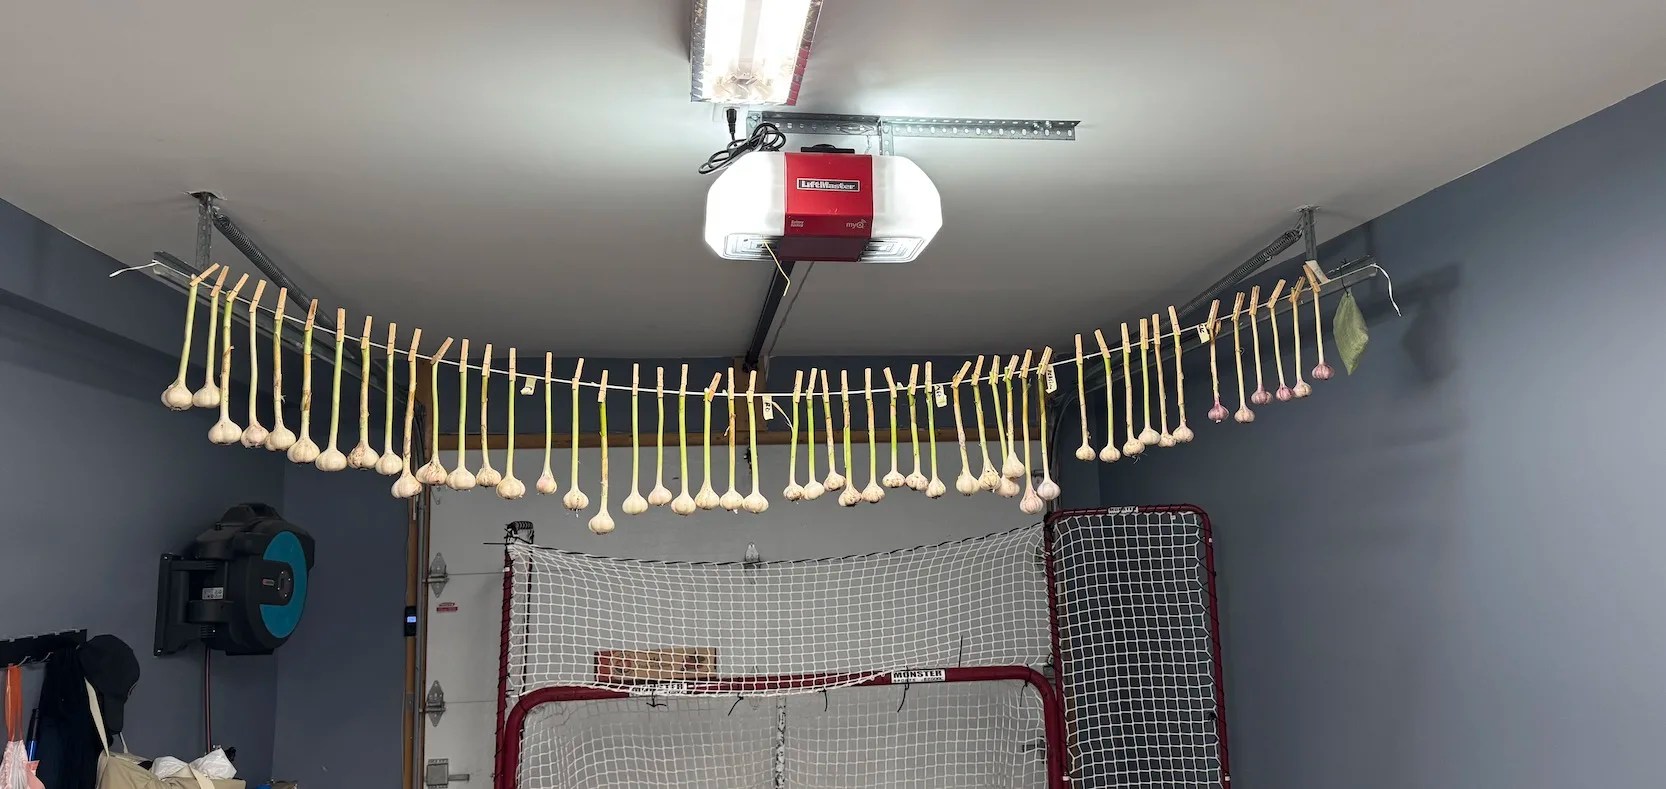
Once you’ve pulled the bulbs, remove one outer layer of skin, trim the roots, and cut the leaves down to about 12 inches of stem. I let mine cure in the garage for 10 to 14 days.
From my own experience, keeping that stem intact during curing helps the garlic preserve noticeably better afterward.
Keep in mind that not every variety keeps the same length of time. Some will only last around four months, while others can easily make it a full year.
Finally, the best place to store cured garlic is right on your countertop, out of direct sunlight. Avoid stashing it somewhere completely dark, since that actually triggers germination rather than preventing it.