

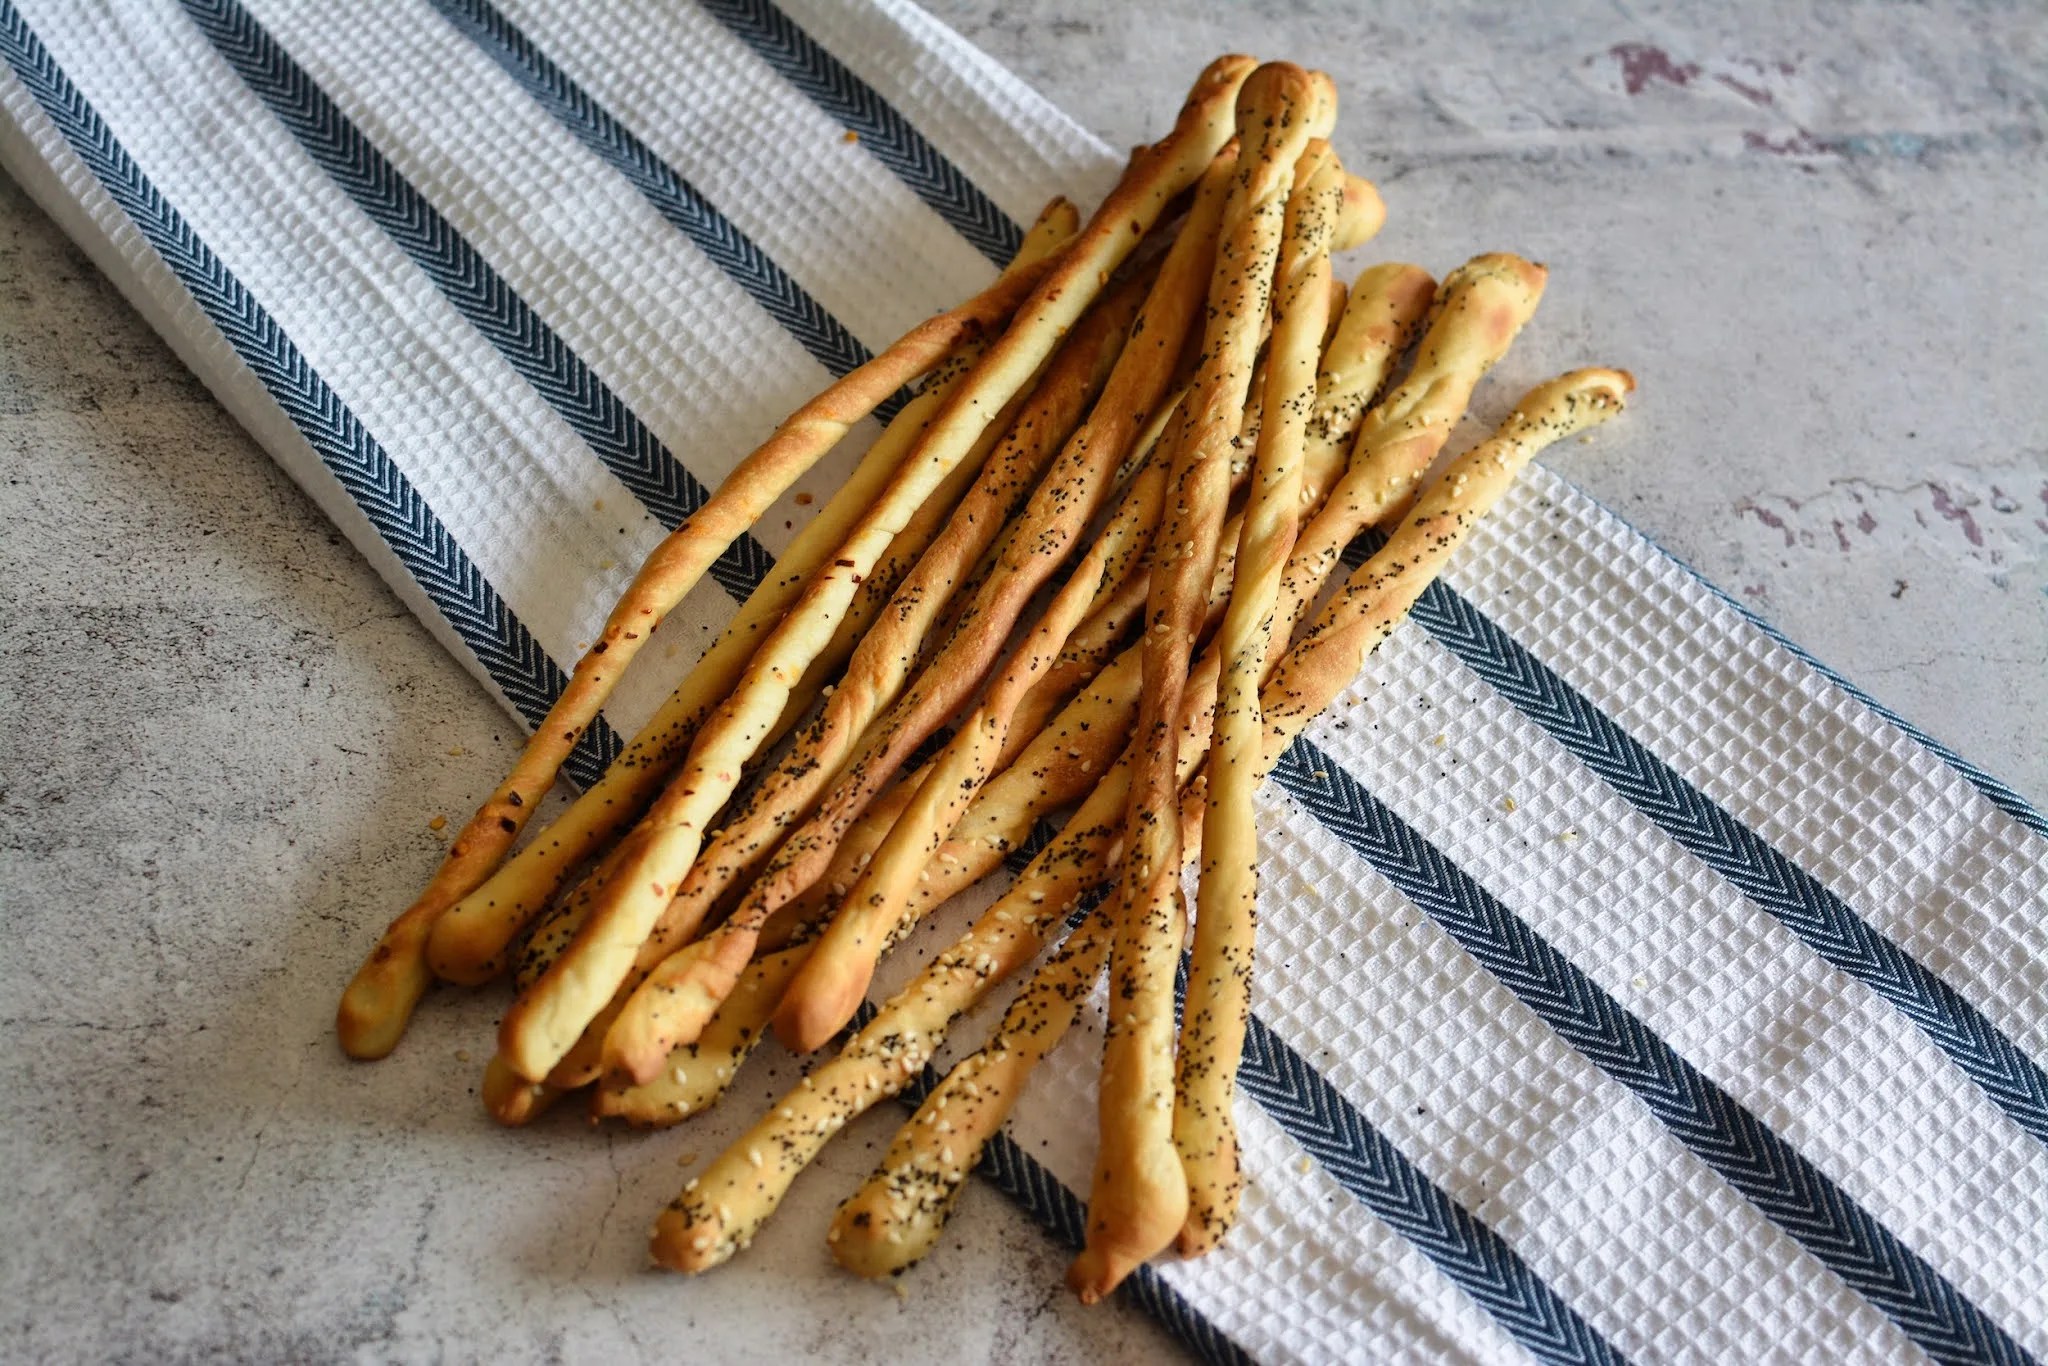
Another Italian classic here. While grissini may somewhat look like their cousins, taralli, it’s a whole different taste and feel in the mouth, and honestly their backstories explain why. Grissini were invented in 1679 by a royal baker in Turin trying to make a version of bread the sickly young Duke of Savoy could actually digest, stretching the dough until it was all crust and no crumb. Taralli, on the other hand, come from Puglia and were born out of poverty, made from leftover scraps of dough and boiled before baking, similar to a bagel, which is exactly what gives them that denser, chewier bite.
Grissini are crispy but break quite easily compared to taralli. We love snacking on both.

(Experiment 105) Grissini
Ingredients
- 250 g water about 105F
- 14 g honey
- 50 g olive oil
- 14 g salt
- 60 g semolina
- 350 g* all-purpose flour
- 8 g instant dry yeast
- optional garnish poppy seeds, chilli flakes, fennels, sesame seeds etc
- *Note you may a little bit more flour
Instructions
- First heat your water to 105F ( about 25 seconds in my microwave), add the yeast and let it bloom for 10 minutes. Stir in the honey and oil and transfer to a stand mixer bowl.
- In a large bowl, combine the flour, semolina and salt then add them to the stand mixer bowl. Knead for about 8 minutes. The dough should not be sticky nor dry. If it’s too sticky, add a tablespoon of flour and repeat until you have the right texture. For this step, I prefer to take the dough on the countertop and knead it by hand adding a bit of flour, knead, add flour etc. Gives a better idea of the texture.
- Press down the dough and shape it into a rectangle about 4″ wide by 15″ long. Drop a bit of olive oil and brush the whole exposed surface, then cover with plastic film and let rest for 60 minutes.

- Preheat your oven at 450F, do not use convection it will broil the grissini but the inside won’t be baked.
- Lift the plastic film and re-coat with a thin layer of olive oil. Season with whatever garnish. Cut 1 stripe out of the dough about 1/4″ and roll it. I like to roll with both hands in the opposite direction, it gives it a nice twisty look. Make about 8 then cover the remaining dough with the plastic film.
- Lay parchment paper on a baking tray and put about 8 sticks on it. Note they will puff a little so leave a bit of room between them.

- Cook for 8 minutes, then turn them over and cook for another ~4 minutes until they get a nice colour.

